From the Keepin’ It Simple kitchen, we bring you another rousing rendition of the Fat Man Cookith.
I’m preparing one of my daughter’s favorite after-school meals or lunchtime options during the summer. It’s fairly quick and easy, though can be a tad messy if you let it. But hey, that’s half the fun.
I’m talking chicken fingers. And no, if you suggest heating pre-cooked tenders in the microwave, I’m throwing the nearest meat tenderizer at you.
Prepare your own meals people.
Anyway, back to our culinary excursion.
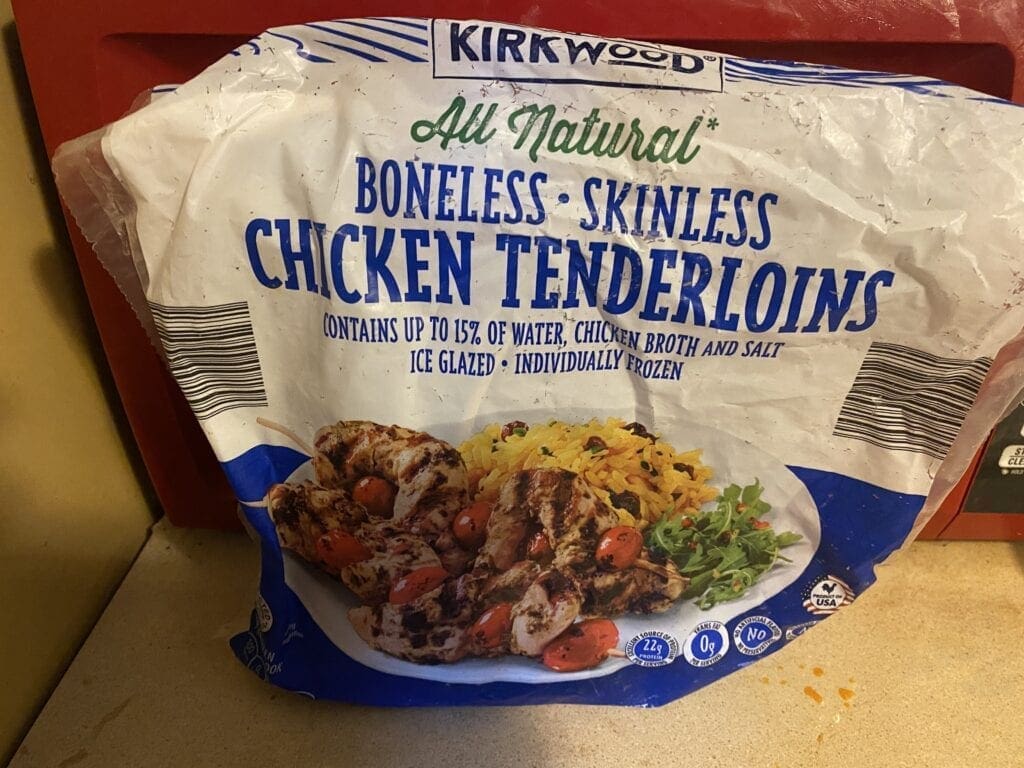
I generally purchase either freshly packaged chicken tenderloins at the grocery store, or the frozen tenderloins in a bag. Either works. For me, it depends on how much money I have on me.
The only difference in prep work is, if you get the packaged, frozen variety, leave it in a cellophane-covered bowl in the fridge the night before so that it thaws properly.
Next you will need two containers with lids. I prefer Tupperware, but have been known to use whatever is on hand. But the lid is crucial.

Prep Work
In one container, you crack two eggs and mix the liquid around to serve as your bath.
The other, you put your dry ingredients for the breading.
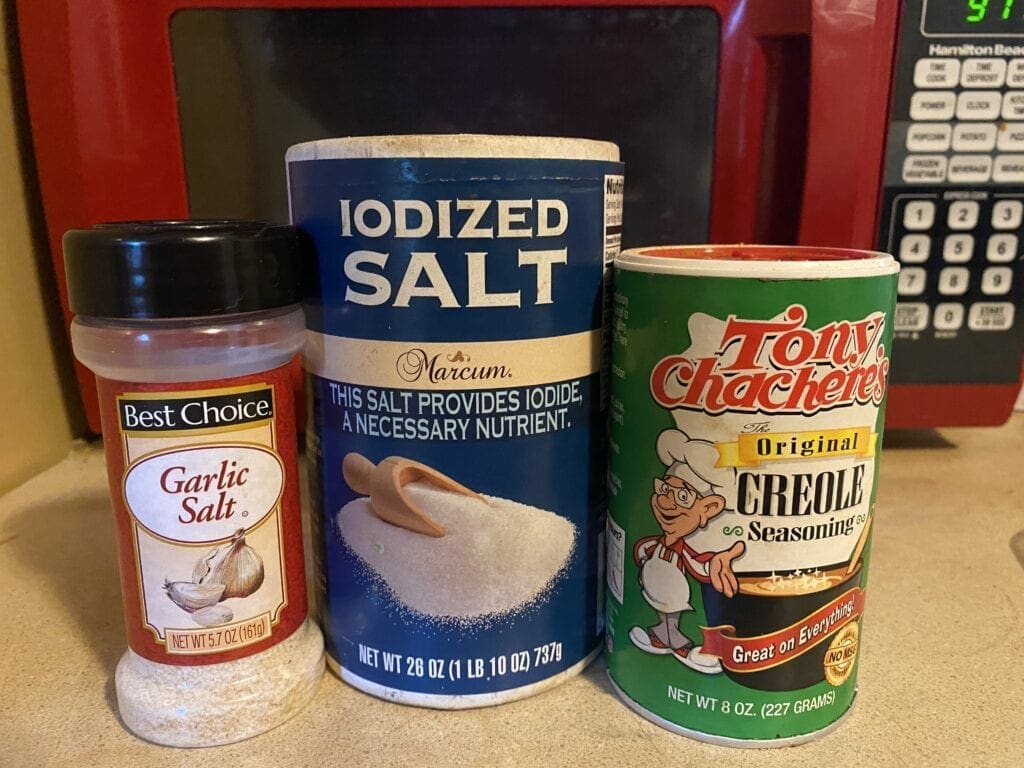
I keep it relatively simple with flour, salt, garlic salt and some spice, either Tony Chachere’s Creole Seasoning (I am brand loyal here) or any number of Cajun seasoning brands I enjoy. Today, let’s use Tony’s.
After I mix all that up in the dry pan, I take the tenders, usually 3-4 at a time, and place them into the breading mixture. Seal the lid and, much like your washer, I shake vigorously.
Once properly coated, I take the chicken out, put it into the egg wash, and again, shake until coated.
Afterward I shake the chicken a second time in the breading mixture for a little extra crispness upon frying.

Ingredient List
- 1 package of chicken tenderloins (number dependent upon number of people eating)
- 2 eggs (for egg bath)
- 2-3 cups of flour (depends on how vigorous you get with the coating)
- Salt, garlic salt, and either Creole or Cajun seasoning to taste (more spicey you want, pile it on)

The Process
Speaking of frying, yes, cringe if you like, but I fry in lard. It goes with my zero-carb eating lifestyle (i.e. carnivore) and provides a nice flavor.
I use a fry daddy deep fryer as, when using lard, it’s best not to use a fryer that contains a heating element in the bottom.
Once the oil is heated and any leftovers are strained from the oil, I use a pair of tongs and crop the tenders in one at a time. I try to stick to frying no more than 3-5 at a time in the fryer.
That way, there is no crowding and you get a consistent fry all over each piece. I generally flip at about 6-7 minutes and then remove after another 6-7.
One last important step, especially for those new to frying your own chicken. Take one piece out first, slice it down the middle and make sure proper cooking has been attained. The LAST thing you want is a loved one to bite into a piece of raw chicken.
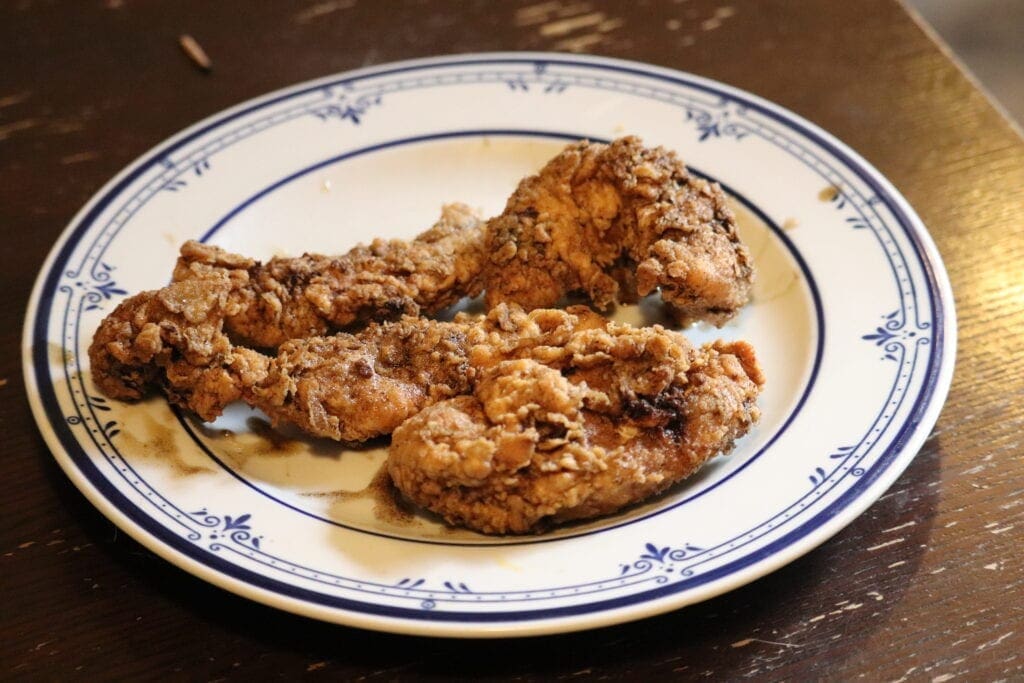
And there you have it, fairly simple and doesn’t require a lot of prep work, or ingredients. My kind of meal.

